Thursday, March 15, 2012

St. Patrick's Day Cards


     Cards are one of my favorite thing to make. Usually, I make them a little bit bulky, so they're easier to hand deliver than to mail. This year's St. Patrick's Day card are no exception. I've done my favorite technique of using a vintage card image as a starting point and embossing and glittering and trimming with ribbon and beads.

    These are easel cards that can be propped up to display the inside and the front at the same time. (Another one of my favorite techniques).

Wednesday, March 7, 2012

Top o' the Morning to Ye...

     Everything is coming up green around our house. We love St. Patrick's Day! I needed a little green to hand from a peg rack and this is what I came up with. The largest circle is coffee-stained and gathered coffee filters glued to a backing. The next layer is green plaid scrapbook paper pleated and formed into a circle. Finally, some shamrocks and a little Irish lass are layered and popped up on top. All of this is attached to a card stock banner, a dowel glued to the top and hung with ribbon. Easy peasy....
    I always do a little distressing with ink and add embossing, glitter and flocking for texture and interest. There are lots of vintage postcard images available that are copyright-free, so I can always find something new for every holiday.
   Here's my version of the St. Pat's banner Kristyn over at Lil' Luna (http://lilluna.com/st-patricks-day-banner/) has created. She has downloadable maps for your background and easy to follow instructions.  As usual, I had to do my own take on it. I cut shamrocks out of scrapbook paper, distressed the edges and layered them over a munched-up (hand gathered) coffee filter medallion, and then applied them to a banner shape cut from the maps of Ireland I downloaded from her site.


Tuesday, March 6, 2012

Loverly!

     Yeah, I know it's past Valentine's day. I just get these ideas and start working on them, so sometimes they come together "on time" and sometimes they don't. This is an artist's canvas with letter tiles I made by cutting foam core to size, coating with wall board compound, sculpting a line around the outer edges and a letter in the center. The heart is handmade from paper pulp, dyed to a pinkish color. I added some thread bits and paper snippets for texture and interest, then poured it into a ceramic cookie mold with a floral design. The tiles were painted white and an assortment of blues, grays, and touches of burgundy. The lines and letters are dark blue-gray, and then I rubbed metallic gold highlights over the tops of the letters and the designs left by the mold on the paper heart.


      The canvas is dark blue-gray with lots of light blues and grays and touches of white, pink, and gold for interest. After gluing the tiles and heart on the canvas, I decided I liked it without a frame. I may change my mind later...

Friday, March 2, 2012

Words of wisdom...

     Sometimes, I just need a simple reminder to take my problems to the best source of comfort. I decided to make a sign board so I could hang it in a prominent place and keep the message in the forefront of my thoughts all day. Now I have to make some more elements, so I can have a nice wall grouping....

Thursday, March 1, 2012

Tabletop Sign or Wreath Display Post


After seeing several variations of this, I decided to whip up my own. I wanted a nice way to display seasonal decorations without making new holes in the walls. This fits the bill perfectly. I took a spindle used for decks and cut it in half. I topped it with a wooden finial and mounted it on a 4.5" round wooden plaque. The hanger is a wooden drawer pull mounted on the side (see pics below). After a coat of black spray paint, it looks wonderful. Cost- a little more than $5! Another hurray!


Side view.

Front view without anything hanging on it.


The whole thing is about 22" tall.


Happy St. Patrick's Day!
                                                                

Wednesday, February 29, 2012

Some Girls....


     When I saw this quote, I knew I had to use it to make something for my "Glitter Girl." I mulled it over for a bit, then decided to use this format from a piece of wall art I made last week. I got the idea from another blog, but now I can't locate the link to give credit where it's due. Mine is similar, but not exactly the same as hers.


     I looked up "glitter" in the dictionary and copied the definition, then chose my fonts. I especially liked the last definition, "the quality of being spectacular." That's my girl! I took a 12" square canvas and used basic acrylic craft paints to make a variegated background of light and dark grays, beige, aqua, and white. While that was drying, I printed my images to transfer to the canvas, using this technique from the Matsutake blog. While I was waiting for the paper transfer to dry, I cut a piece of foam core board 15" square to form a frame for the canvas. I wanted some texture and I didn't want the foam layer to show around the edges, so I wrapped the edges with masking tape and layered small strips of it to form about a 2" frame around the outside edges. Once that was done, I sprayed it with metallic silver paint. VoilĂ , instant bling! Pictures are posted on my tutorials page for reference. 
     I used rub-on transfer sheets to make the rub-on letters to go around the outside edges of the frame and applied them. When the paper transfers were thoroughly dry, I wet them down and rubbed off the paper backing, leaving the crown and lettering. I sealed it all with a coat of Mod Podge and used glitter Stickles paint to add "jewels" to the crown and highlighted part C of the definition, so she'd know that was the one that applied to her the most! Once it was all dry, I applied plain paper to the back of the foam core frame to give it a nice finished look, and glued the canvas to the center of the front.
     Another inexpensive, unique, and personal piece of art to hang on her bedroom wall, oh yeah!

Thursday, December 29, 2011

Our Christmas Eve Tradition

This is the cover of Our Christmas Tradition Book.
      Every Christmas Eve we gather as a family and read the Christmas story from Luke chapter 2. We discuss the miracle of Jesus Christ and his gift to us and all the world, and we remember our blessings and our responsibility to follow his great example and truly be Christians. This year I finally got down to work and made an altered book for Christmas. A couple of years ago Somerset Holidays & Celebrations had an article by Mary Benson showing her altered book about the Christmas story. My book was inspired by hers. It is not exactly the same, but I have used some of her ideas. Her book used the story from a sweet children's book titled "This Is The Stable" by Cynthia Cotten and illustrated by Delana Bettoli. I have combined the verses from Luke and the storybook, as well as favorite Christmas songs and poems in my book. The papers are a combination of stock scrapbook paper, pages from the storybook, and a digital collection from Scrap Girls called Holy Night Collection,  http://store.scrapgirls.com/product/11403/Holy-Night-Collection.
    Since this was my first venture into creating an altered book, it definitely has flaws. I have learned a lot about what not to do, and hopefully the next time I feel the ambition to create another book like this, I will do it much better. Since I lean towards jewel tones and sparklies when it comes to Christmas, I tried to embellish each page with glitter, jewels, beads, and golden trims. Here are the inside pages, I hope you enjoy them as much as I do:
First page. Tag slides into slit on right.

Tag is stable scene.


Stable scene is framed and inset in Bethlehem.


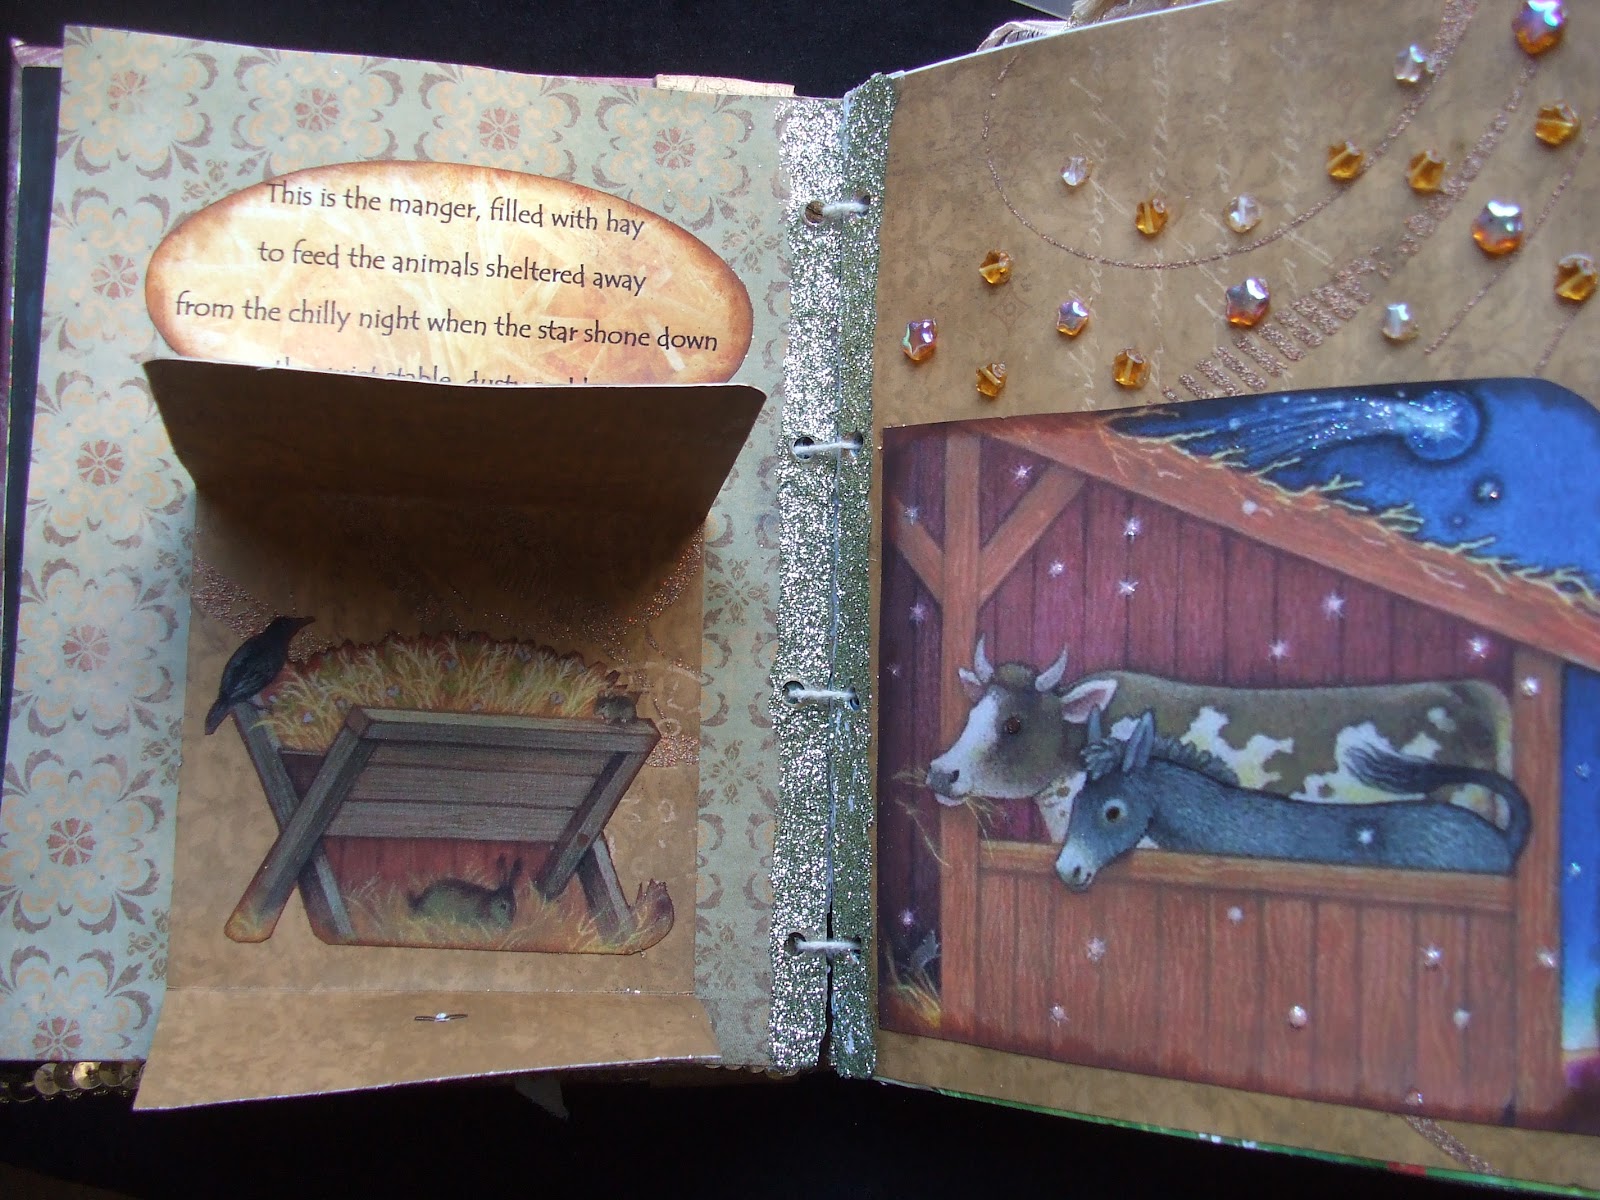
Manger close-up is inside folder.
Stable close-up.

Inside the stable.

Open the stall gates to see the animals.
Mary and Joseph welcome the baby Jesus!

Close-ups of Mary and Joseph inside.

Shepherds watching their flocks.

Tag slips out with Luke 2:8-12 on it.


Three layers of angels stacked, glittered, and flocked.

These are the wise men...

Library pockets with gold embossed flourishes.

Verses about the baby born that night.


The Magi and their gifts.

Slider tags with verses pull out of the tops.

Corner pockets with verses on tags.
Close-up of tag fronts.

Close-up of tag backs.


Inside back cover with tags stuffed in pockets.

Tags with songs and poems.